
ATTENTION!! THE LAST TWELVE REMAINING PATTERNS OF HALLOWE’EN-1904 IN THE WHOLE WIDE WORLD ARE NOW AVAILABLE FOR SALE AT PRIMITIVE GATHERINGS ONLINE.
ONCE THEY ARE GONE. . . THEY ARE GONE!!!
Okay, see the rest of the post for the backstory.
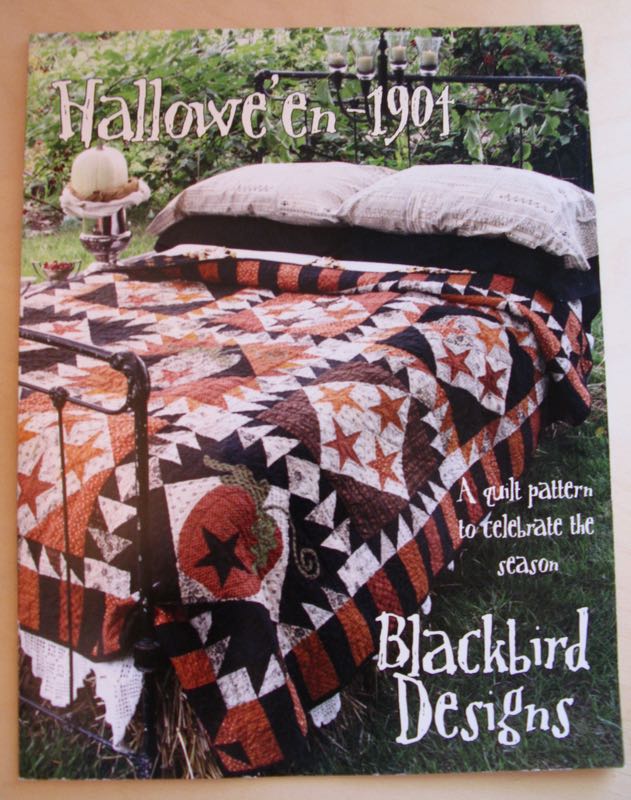
When I was at Quilt Market, I stopped to see Alma Allen of Blackbird designs in her booth in the Moda section and asked her if she had any remaining Hallowe’en-1904 patterns. Because I’m running this QAL, I get a lot of questions like, “Where can I get the pattern?” for as you know, they’ve been rather elusive. Downright scarce, actually.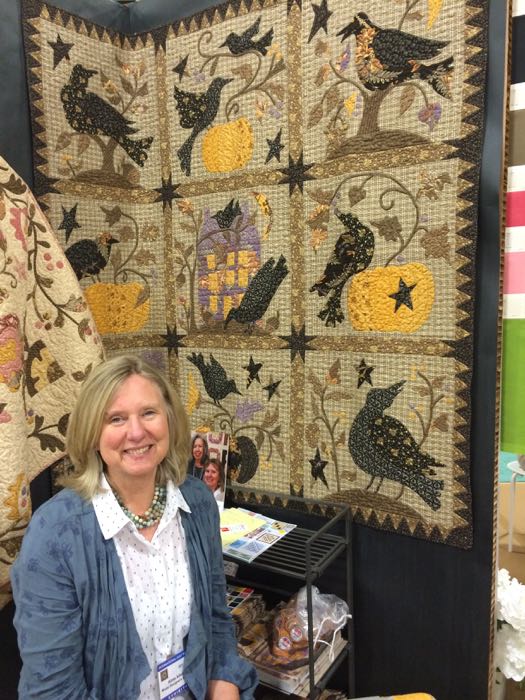
(Alma is shown above with her newest quilt, The Raven.)
“Well, actually,” she said (and I paraphrase), “I was going through the warehouse and found the last box of those–didn’t know I had them. There’s twelve. Would you like them?” Gulp, golly. . . YES! for I knew that a lot of people had been looking for them. I walked over to Lisa Bongean’s Primitive Gatherings Booth across the way (Lisa is the nicest person ever), and since it was the last day of Quilt Market stammered out my request asked her if she would buy them and get them for us? Yes, she said. And she has.
So here’s a link to the LAST REMAINING 12 PATTERNS ON THE FACE OF THE EARTH that you can buy. Get over there right now and get them. Alma does not intend to make this available as a PDF file after these are sold, so if you want one, you know what to do. Well. . . actually there’s only 11 now. (I just bought one.)

And yes, I do have a giveaway today, but it’s not the pattern (go and get one, NOW, before they sell out). Read through to the end to find out what our giveaway is for today. Now, on to the business of our Quilt-A-Long.
If you remember, I left you with the instructions to get your wonky/appliqued stars done and get them assembled into a block, and add those corner triangles. This month, you are going to make half-square triangles (HSTs) until your rotary cutter falls apart. I’ve updated the previous post about making wonky stars, as I refined the method as I went.
After making all these wonky stars, I just have to say it’s probably about similar the work in terms of appliqué vs. wonky. You’ll be sick of either method by the time you are done, but you’ll also be an expert in that method, too. (Making gives, and making takes.)

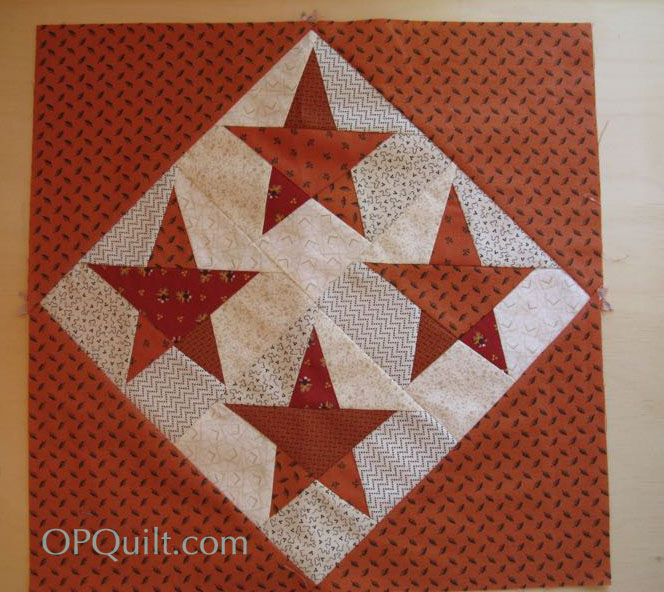
I laid all the blocks on my kitchen floor to motivate me to get going again. Notice that three of the “starry” blocks have orange stars, one has black stars and one is a mix. The big triangle borders are varied; I used deep green triangles on that one in the second row to the far right, but it’s so dark, it reads as blackish.
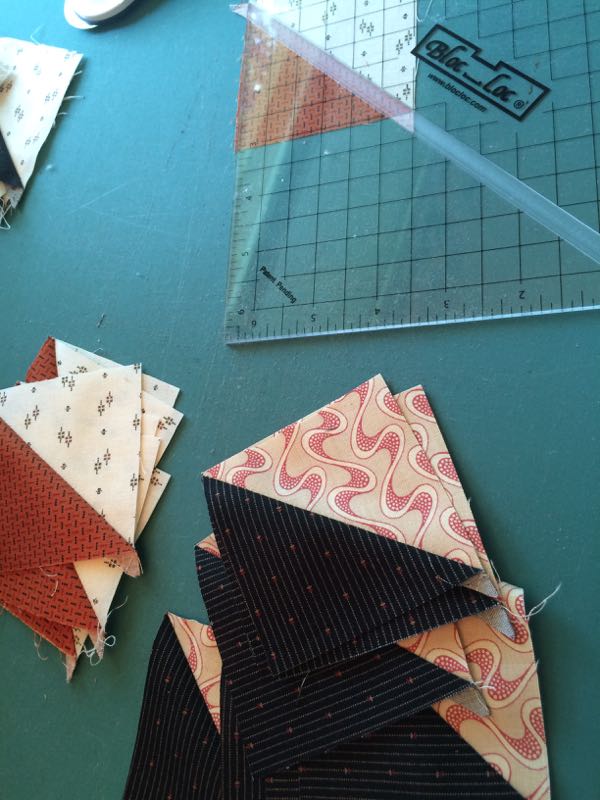
Now it’s time to make half-square triangles until your hand falls off. . .or your rotary blade needs changing. I use Bloc-Loc rulers to make my life easier in trimming, as it has a groove in the underside that nestles onto that fold of your seam, keeping it from moving around while you trim. I can do a whole bunch at one sitting and I think they are more accurate.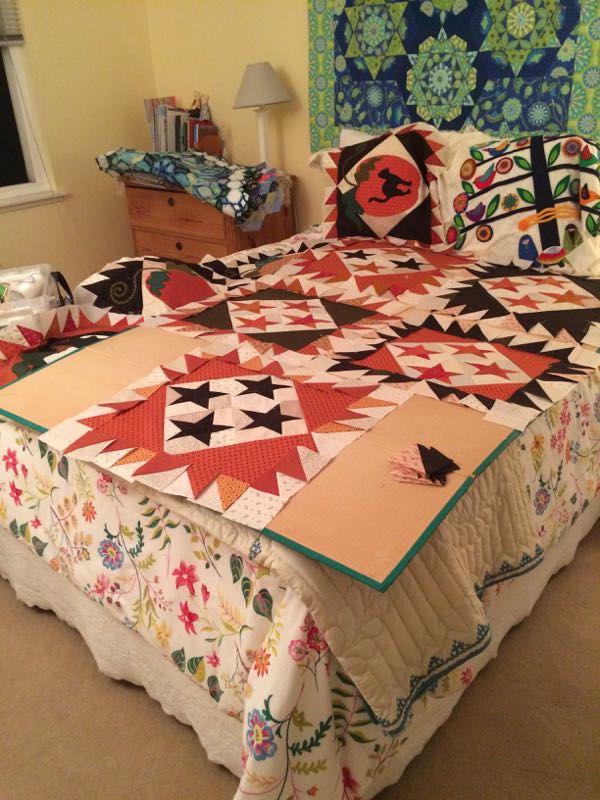
Now commandeer the guest bedroom, and lay out your star blocks. Lay out your HSTs around the edges. Because we use the 8-at-a-time method (talked about in an earlier post) I have multiple sets of 8 identical HSTs. I used three sets per block, swapping out a few here and there to keep the eye moving around my quilt.
Sew them on, as discussed in Step Three (that earlier post I keep referring to). 
Because I had four appliquéd blocks, it was a no-brainer to put them in the position above for the initial run-through of placement. One by one, I put up the star blocks, auditioning them. Of course, I could have planned out where the dark triangles were and the HST color placement, but I didn’t.
This is how I ended up, complete with a whoops: 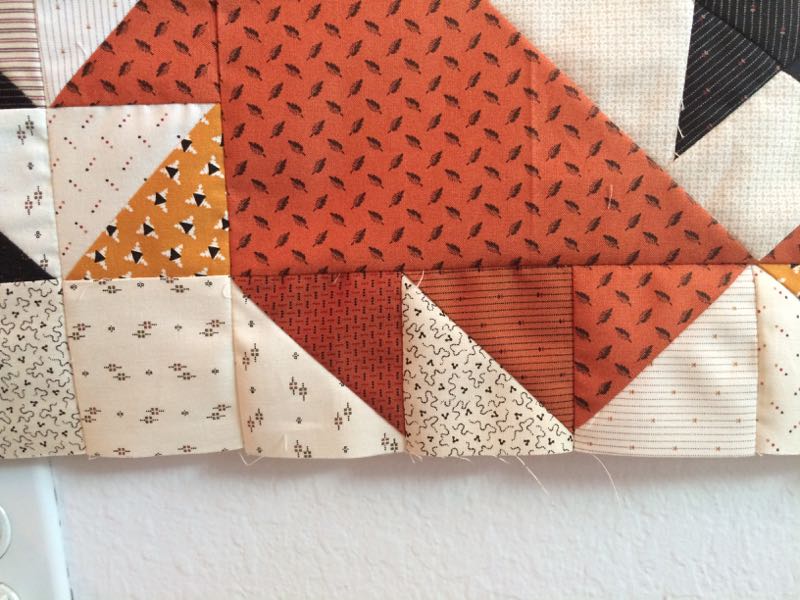
I’ll fix that today. But now I’m caught up with our QAL, and getting ready for the last step (yes!!) in our quilt making: the borders.
Here’s our schedule:
Step 1 (Preparation): February 13, 2016–buy all the fabrics and find the pattern. Mine was purchased from Common Threads in Waxahachie, TX (www.commonthreadsquilting.com). The quilt measures 90 by 90, which is too large for me, so I’m only doing nine blocks. Each block is 20″ square, and with the outer borders, that should come to roughly 65″ square. I may change my mind, but this looks good from here.
Step 2: March 13, 2016–Cut out the quilt: the tan backgrounds of the squares, the border triangles, the smaller half-square triangles, strips for the wonky stars, but save the piano key border for later.
Step 3: April 13, 2016–Assemble four blocks and add large appliques; use Thelma’s method (of Cupcakes and Daisies) for adding the curlicue stem. Make and add half-square triangeles (HSTs) around these blocks, using the 8-at-a-time method of HSTs.
Step 4: May 13, 2016–Cut and make the wonky star blocks from templates and strips. I’m doing five blocks, so will need to make twenty wonky stars and true them up. Add on the large outside triangles.
Step 5: June 13, 2016–Assemble the rest of the star blocks, by adding their HST borders. In the pattern, they are mixed up and varied, but also harmonized (some have a mix of orange and black, some have just black, some have just orange.) Make your own rules and go with it.
Step 6: July 13, 2016–Arrange the blocks on your design wall and stitch together. Cut the pieces for your borders. Make the four corner pinwheels. Sew borders together and attach them to the quilt.
Yes, I combined the last two months, so we’ll be done early–so you can get it quilted!
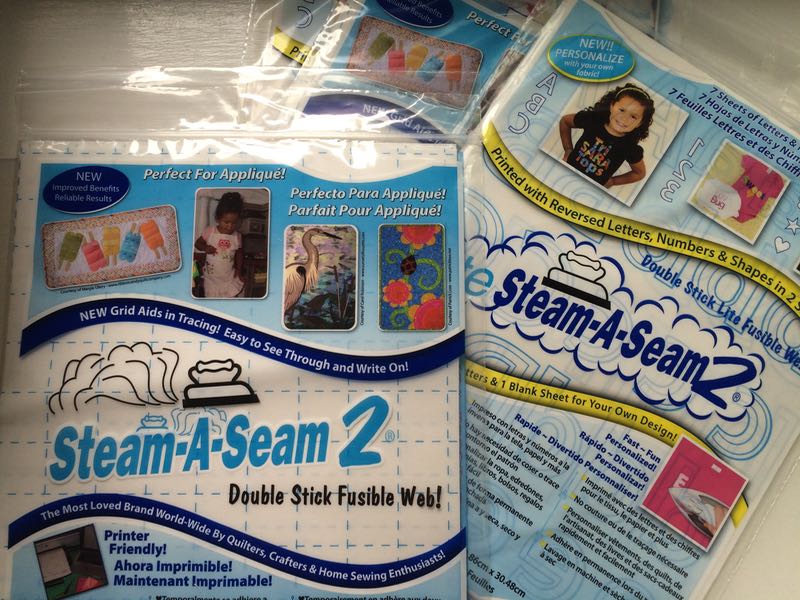
When I was at Market, I talked the people at the Steam-A-Seam booth (The Warm Company, who also make Warm and Natural Quilt Batting) telling them how much I liked their fusible product for the quilt I’ve been making (I used it on all the appliqué parts). I also used it on my Christmas Tree Skirt and really am a fan. Next thing I know she’s handed me some packages for a giveaway, so here I am, giving it away. There are two packages of Steam-A-Seam 2 sheets (5 sheets, 9 x 12 inches in size) and two packages of Lite Steam A Seam 2 (8 sheets of 9 x 12 inches). The Lite Steam A Seam 2 has upper and lower case letters printed on the the release sheet, so when you fuse them down, then cut them out, they’ll be going the correct direction. They also include one blank sheet for your design. Very cool product.
To win all FOUR packages (share with a friend), please leave a comment telling me if you think Halloween should be a kids’ holiday (candy, traditional costumes and pumpkin carving) or an adult holiday (more sophisticated, more zombies, blood and gore, fewer pumpkins). I’ll pick a winner and announce it on the next post. UPDATE: Giveaway now closed.
![]()
